Hello thanks for stopping by,
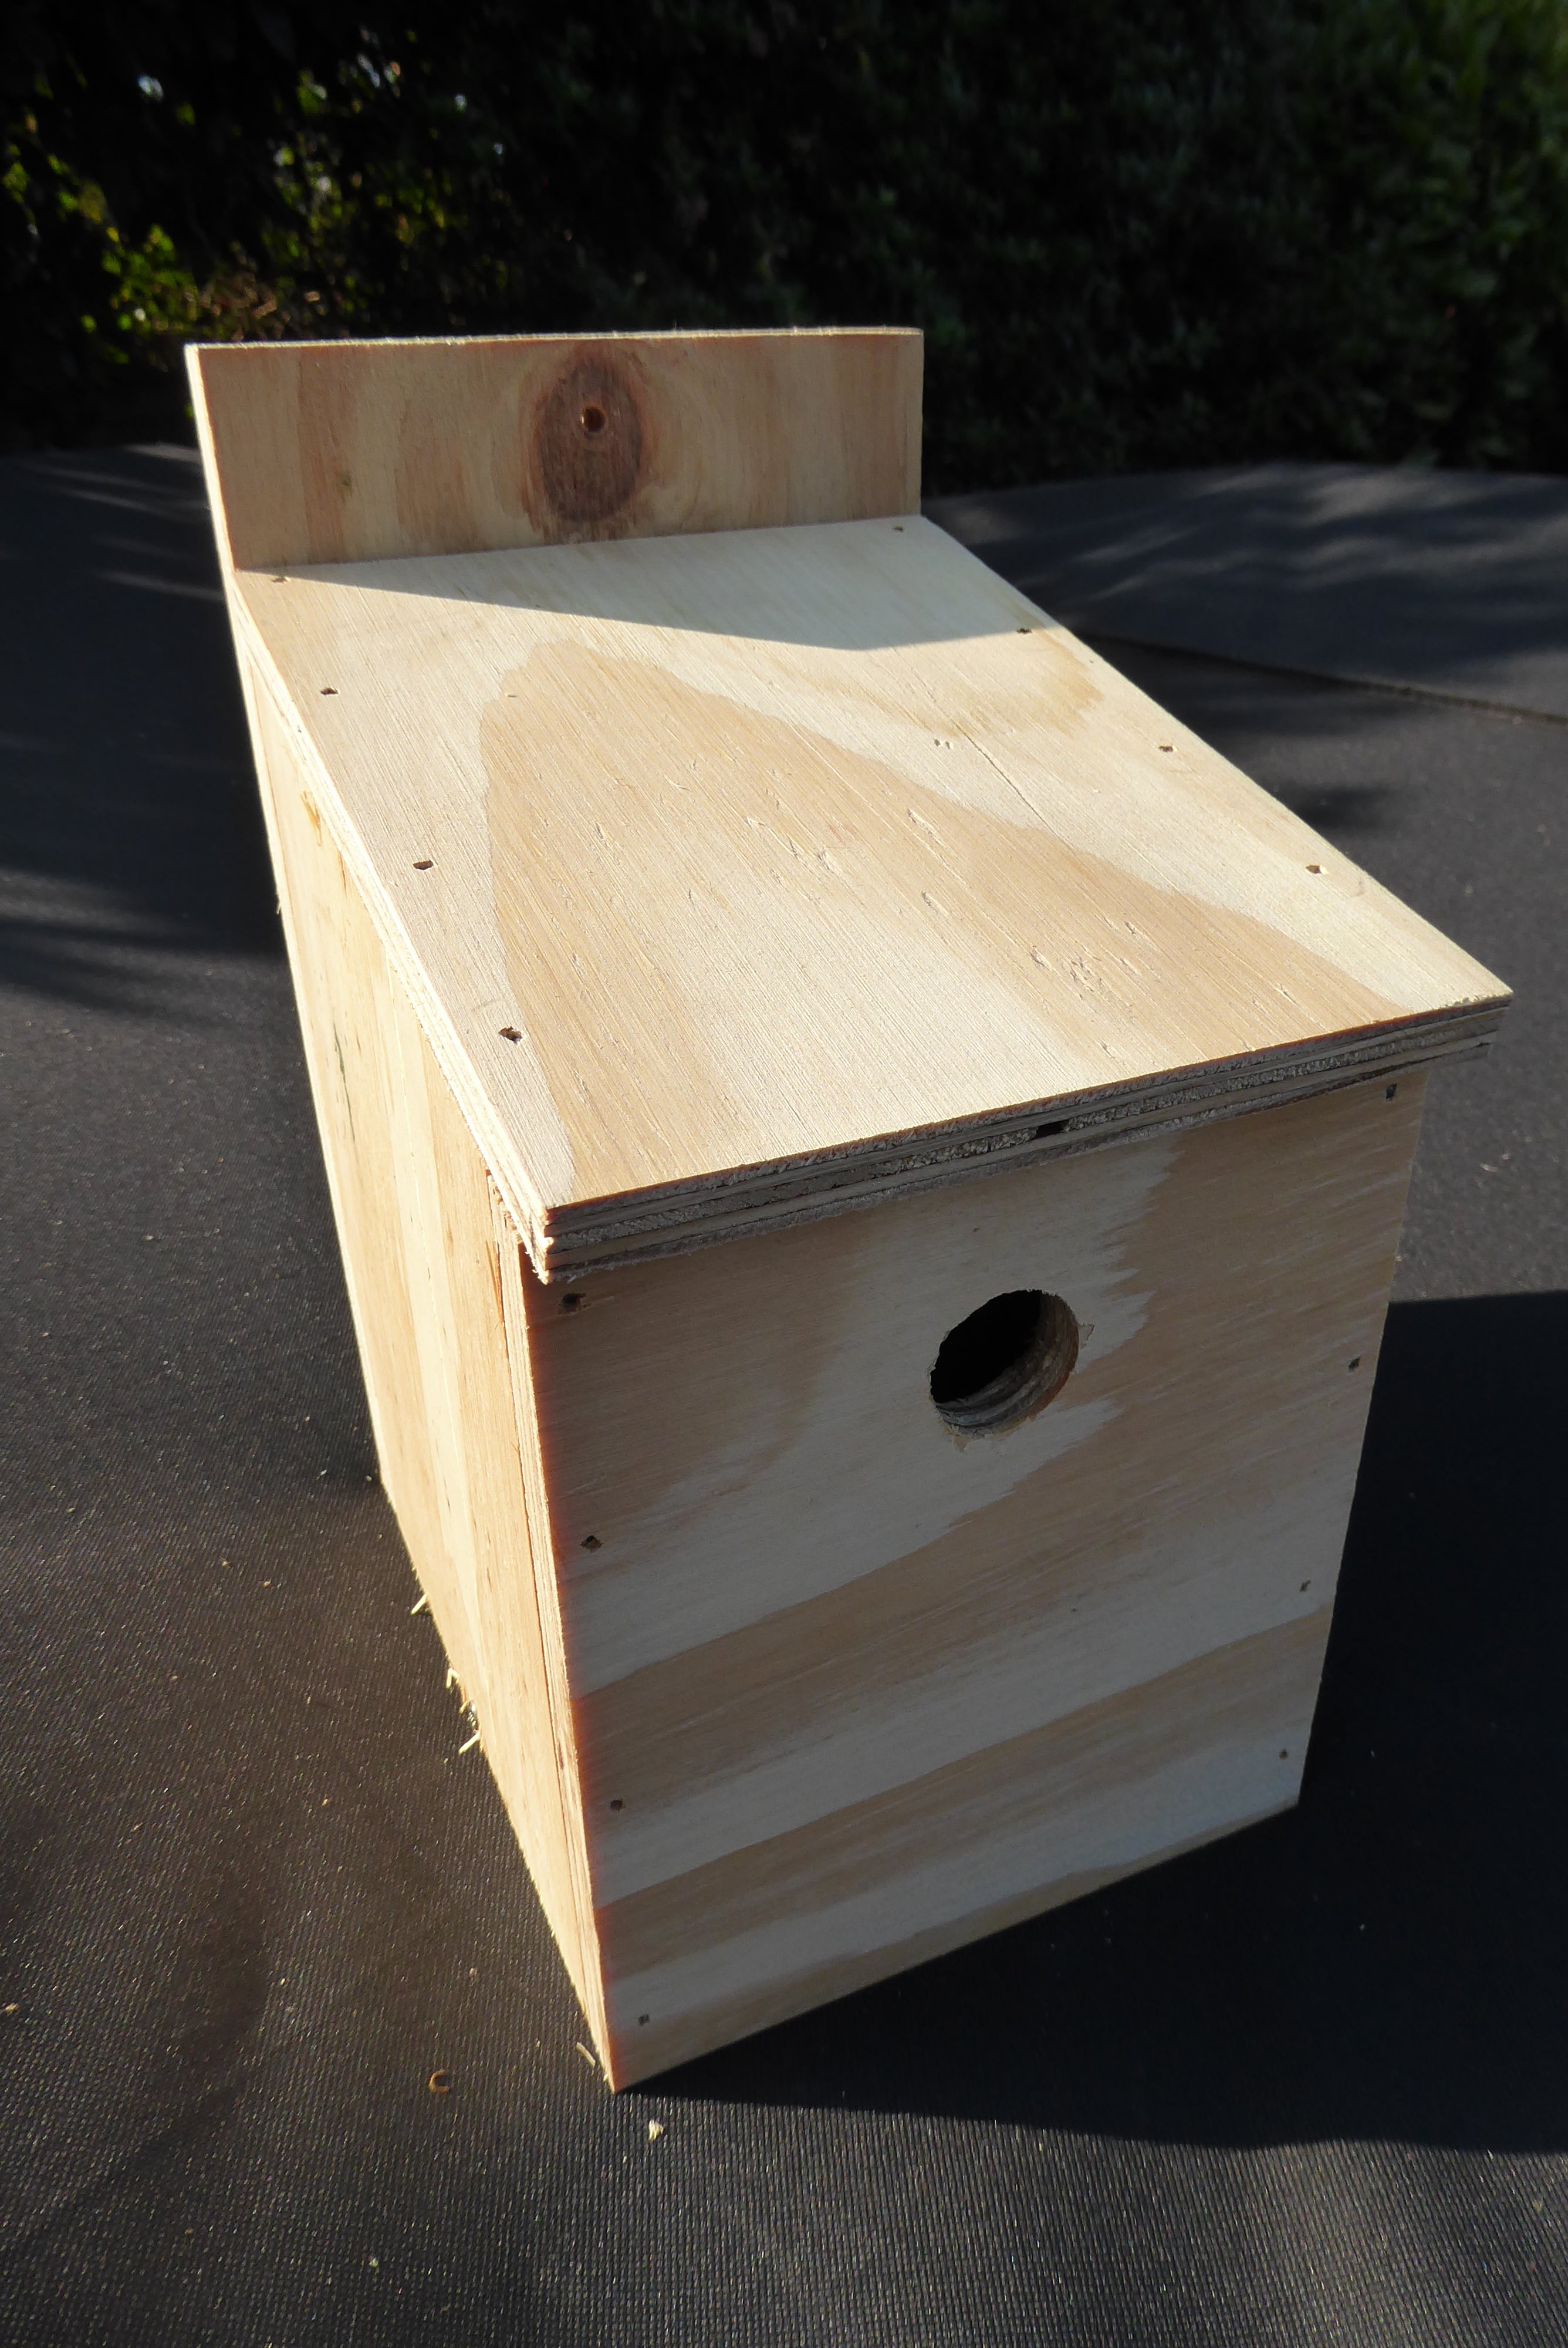
Here is a guide for everything you need to know and more about successfully building your own super Nesting Bird Box.
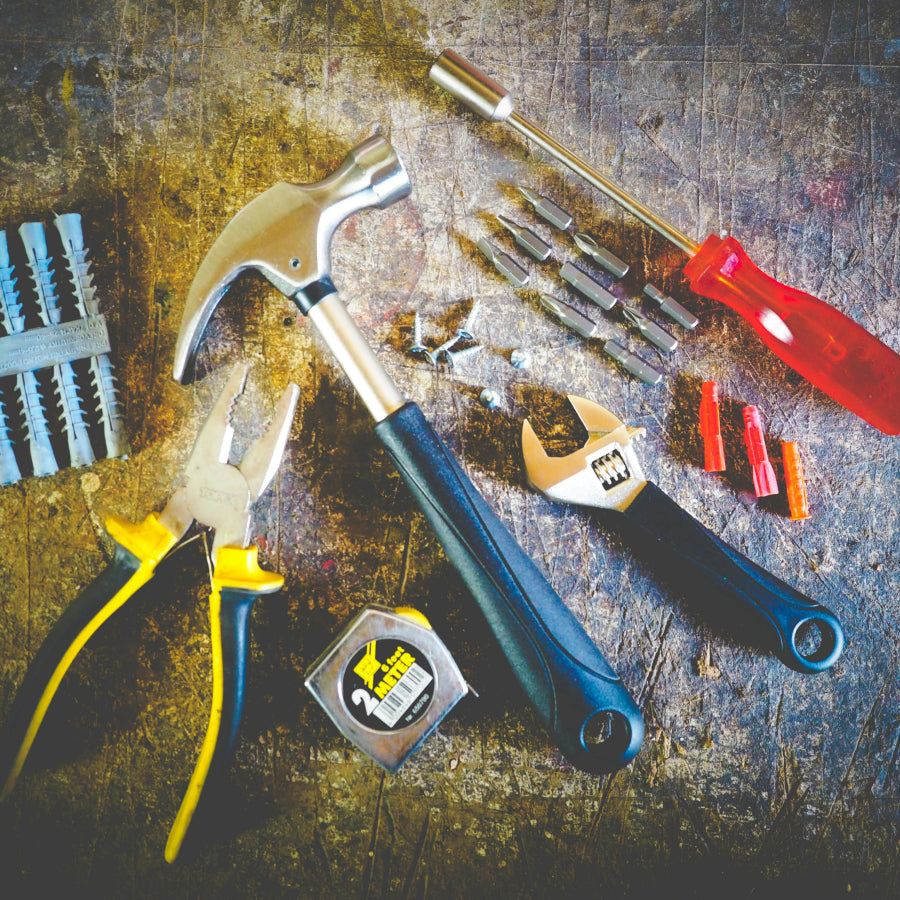
Tools you will need:
A hammer and a cross headed screwdriver.
Selecting your hole size for your Bird Box
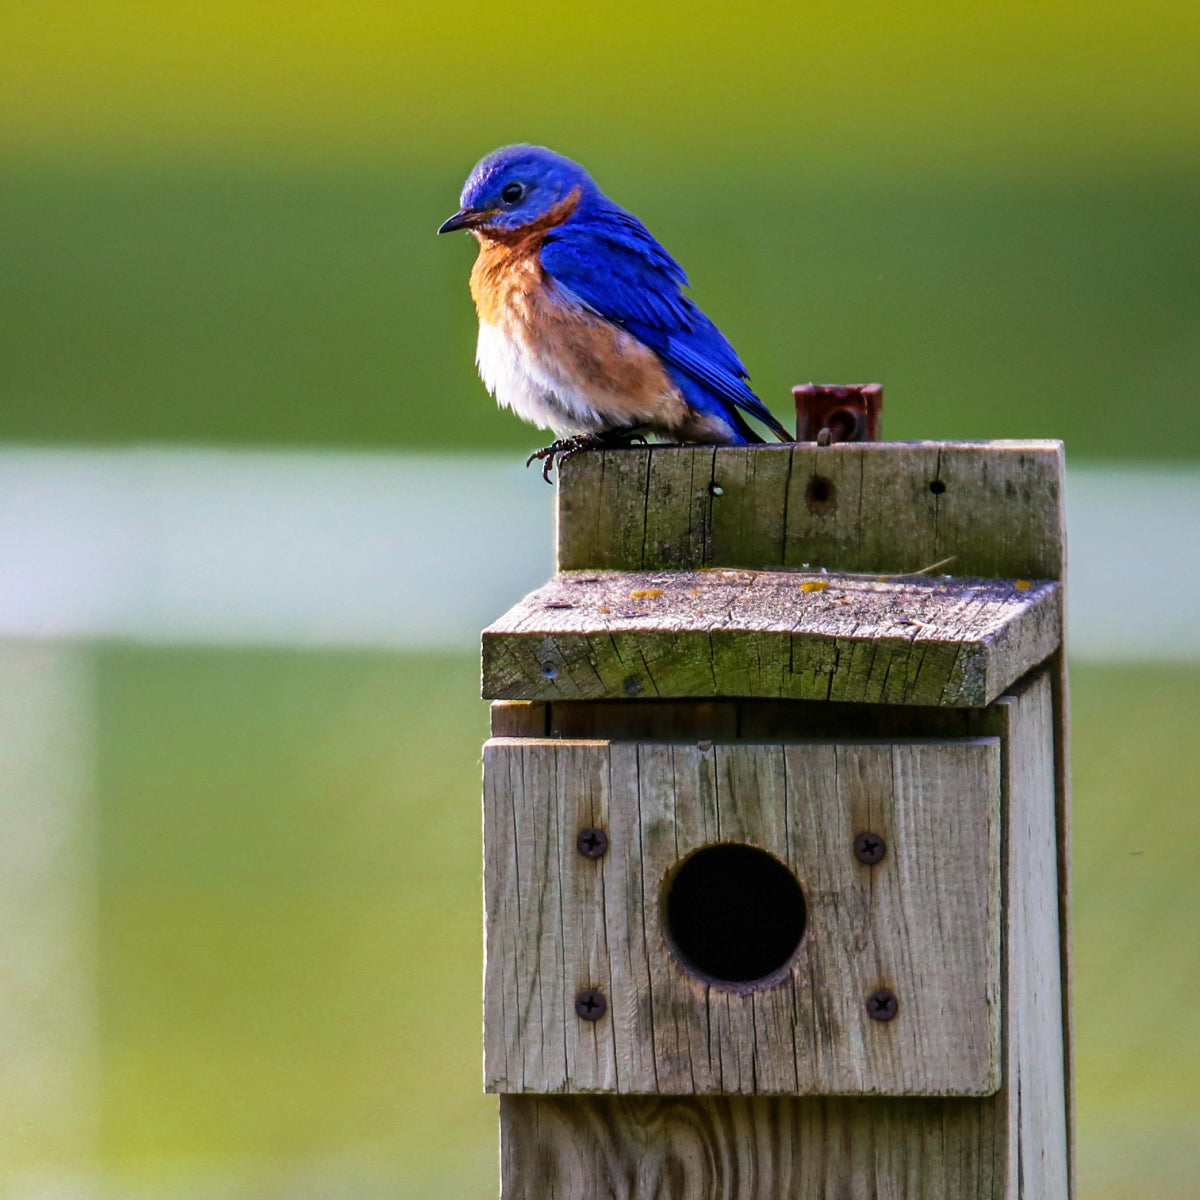
Depending on what birds you would like to attract to your space will determine the hole size which would be most suitable for your bird box. There are two options available which are 25mm and 32mm.
- 25mm opening suitable for Blue Tits, Coal Tits & Marsh Tits
- 32mm opening suitable for Pied Flycatcher, House Sparrow, Nuthatch, Lesser Spotted Woodpecker, Blue Tits, Coal Tits, Great Tits
Why would I need a Glass Plate?
Each bird box will come with a predrilled hole in the back piece of the kit. This is so you can screw here to install the bird box. But you can also use a Glass plate to attach the box to an area which will provide a better hold. Glass plates come in either a chrome or brass finish


You can buy your very own Bird Nesting Box Kit Here
Now you have your kit and your assembly guide you are ready to get building. Make sure you have a clear work space and the correct tools for the job in hand. Follow the assembly guide.
Decorating your bird box
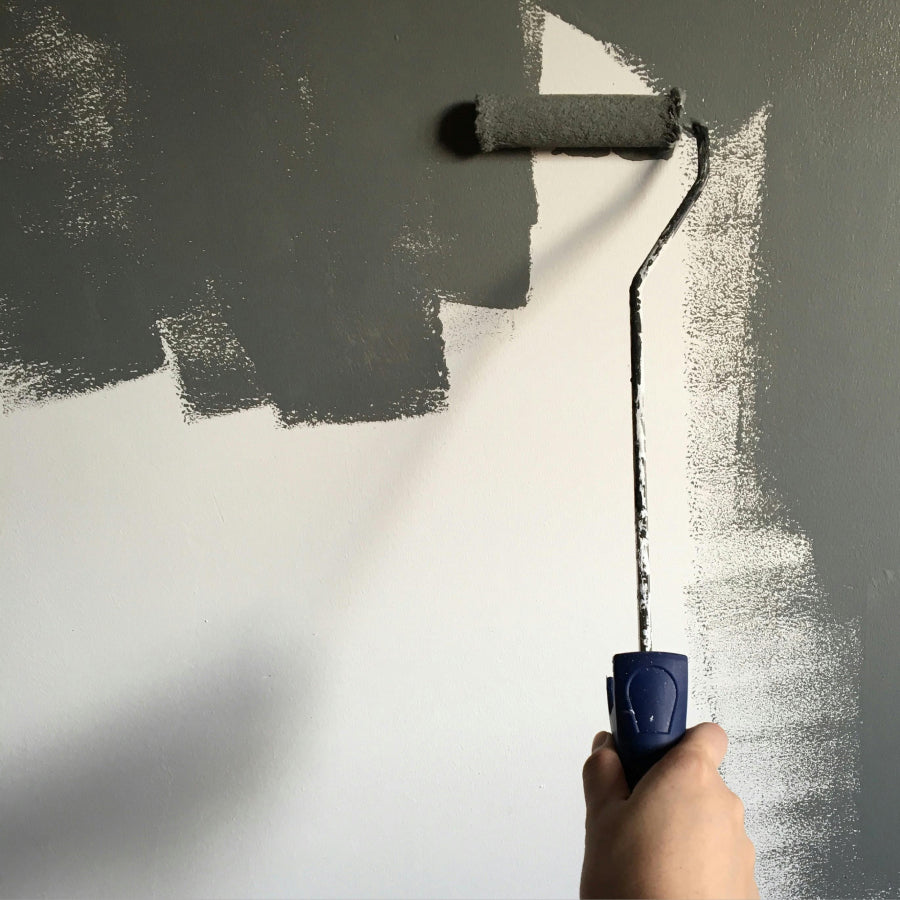
You can use paints or stains to decorate your box but only on the outside and avoid the entrance hole. Make sure your box dries and is thoroughly aired out before installing it in your garden.
Installing your bird box
- Use a single screw or nail to hold the box in place we recommend at least 1 1/2" (37mm) if you have sufficient material to fix into.
- You can also tie up your box if nailing or screwing is unsuitable. Use either an old piece of hosepipe or garden wire.
- Installation height for Tits - Between 2-4m.
- Installation height for Robins - Below 2m and well hidden within vegetation.
- Installation height for Spotted fly catchers - Between 2-4m.
- Installation height for Woodpeckers - Between 3-5m on a tree trunk.
- Installation height for Pie Wagtails - 2-5m.

